Maintaining a leak-free bathroom is important for the longevity of your home and your peace of mind. Water leaks can lead to serious damage, mold growth & costly repairs. To avoid these headaches, it’s essential to take proactive steps to prevent leaks in the first place. We’ll explore some simple and effective bathroom maintenance tips, focusing on resealing the bathroom, shower repairs, and bath seal.
Regularly Check and Reseal Your Bathroom
One of the primary culprits behind bathroom leaks is deteriorating seals around fixtures and joints. Over time, the caulking and seals in your bathroom can wear out, allowing water to seep through and cause damage. Regularly inspect the seals around your bathtub, shower, sink, and toilet. If you notice any cracks or gaps, it’s time to reseal. Invest in a high-quality bathroom caulk and apply it to create a watertight barrier. This simple task can go a long way in preventing leaks.
Address Shower Repairs Promptly
 Showers are a common source of leaks due to their constant exposure to water. Keep an eye out for any signs of damage, such as cracked tiles, loose grout, or water stains. Addressing shower repairs promptly is crucial to prevent leaks from causing more extensive harm. Replace damaged tiles, regrout as needed, and ensure that the shower door or curtain creates a proper seal. Taking care of these minor issues can prevent water from finding its way into the walls and floors, safeguarding your bathroom against potential leaks.
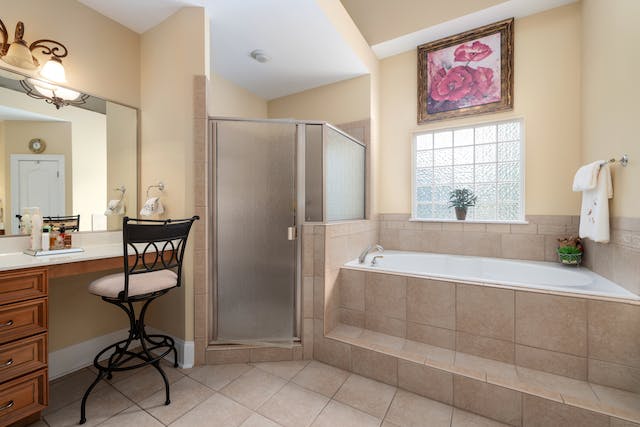
Maintain Your Bath Seal
The bath seal is another critical component in preventing leaks in your bathroom. The seal around the bathtub prevents water from seeping into the walls and floor, protecting your home from water damage. Inspect the bath seal regularly for any signs of wear or damage. If you notice peeling, cracking, or discoloration, it’s time for a replacement. Remove the old seal carefully, clean the area thoroughly, and apply a new bead of sealant to ensure a proper and effective barrier against leaks.
FAQ Section:
Q: How often should I reseal my bathroom?
A: It’s advisable to check the seals in your bathroom at least once a year. However, if you notice any visible damage or signs of wear, such as cracks or gaps, reseal the affected areas promptly.
Q: Can I use any type of caulk for resealing my bathroom?
A: It’s recommended to use a high-quality bathroom caulk designed for wet environments. These caulks are mold-resistant and provide a durable seal against water.
Q: What are the common signs of shower damage that may lead to leaks?
A: Look out for cracked tiles, loose grout, water stains, and any signs of water pooling outside the shower area. Addressing these issues promptly can prevent leaks and more extensive damage.
Q: How can I extend the life of my bath seal?
A: Regular cleaning and maintenance are essential to extend the life of your bath seal. Keep the area clean, avoid using abrasive cleaners, and inspect the seal periodically for any signs of wear or damage.
Q: Are there any DIY solutions for small bathroom repairs?
A: Yes, many small bathroom repairs can be done as DIY projects. Resealing, fixing minor tile or grout issues, and replacing bath seals are tasks that can be tackled with some basic tools and a bit of time.
By incorporating these simple bathroom maintenance tips into your routine, you can significantly reduce the risk of leaks and water damage. Regular inspections, prompt repairs, and proper sealing are key to keeping your bathroom in top condition, ensuring a dry and comfortable living space for years to come.