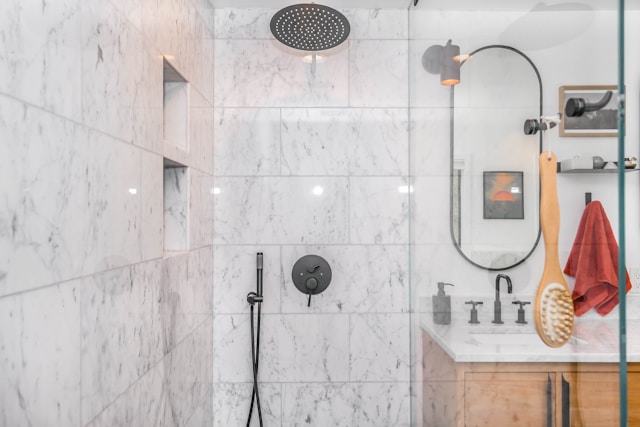
Resealing your shower is essential for maintaining its integrity and preventing water damage. Whether you’re fixing a leaky seal or just giving your shower a refresh, achieving a professional finish is key. Here are some expert tips to ensure you get the job done right.
Choose the Right Silicone Sealant: The first step to a successful resealing job is selecting the best silicone sealant for showers in Australia. Look for a high-quality sealant specifically designed for wet areas. Opt for a mold-resistant formula to keep your shower looking fresh for longer.
 Preparation is Key: Before applying the new sealant, thoroughly clean the existing seal and surrounding area. Use a mildew remover to eliminate any mold or mildew, and make sure the surface is completely dry before proceeding.
Remove Old Sealant Carefully: Use a utility knife or sealant removal tool to carefully scrape away the old sealant. Take your time and work systematically to ensure you remove all traces of the old sealant without damaging the surrounding surfaces.
Mask Off Surrounding Areas: To achieve clean, straight lines, use painter’s tape to mask off the areas surrounding the joint where you’ll be applying the new sealant. This will help prevent smudges and ensure a professional-looking finish.
Apply Sealant Smoothly and Evenly: When applying the new sealant, use a caulking gun to dispense a steady bead along the joint. Work slowly and steadily, applying consistent pressure to achieve a smooth and even finish.
Tool the Sealant: Once the sealant is applied, use a caulking tool or your finger dipped in soapy water to smooth and shape the sealant. This will help ensure proper adhesion and a professional finish.
Allow Ample Drying Time: After applying the sealant, allow ample time for it to dry and cure before using the shower. Follow the manufacturer’s instructions for drying time, and avoid getting the sealant wet until it’s fully cured.
Regular Maintenance: To prolong the life of your shower sealant, perform regular maintenance. Keep the area clean and dry to prevent mold and mildew growth, and inspect the sealant periodically for any signs of wear or damage.
FAQs:
Q: How often should I reseal my shower?
A: It’s a good idea to check the condition of your shower sealant annually and reseal as needed. If you notice any signs of wear or damage, such as cracks or mold growth, it’s time to reseal.
Q: Can I use any silicone sealant for my shower?
A: While you can use general-purpose silicone sealant for some applications, it’s best to use a sealant specifically designed for showers and wet areas. These sealants are formulated to resist mold and mildew growth in high-moisture environments.
Q: How long does it take for shower sealant to dry?
A: Drying times can vary depending on the brand and type of sealant used. In general, silicone sealants typically take 24-48 hours to dry and cure fully. Be sure to check the manufacturer’s instructions for specific drying times.
Q: How can I prevent mold and mildew growth in my shower?
A: To prevent mold and mildew growth, keep your shower clean and dry, and ensure proper ventilation. Consider using a mold-resistant sealant and regularly inspecting and maintaining your shower seal.
By following these expert tips and staying proactive with your shower maintenance, you can achieve a professional finish when resealing your shower and ensure long-lasting protection against water damage.